
How to Hang a Mexican Blanket on the Wall as a Tapestry: 4 Safe Methods
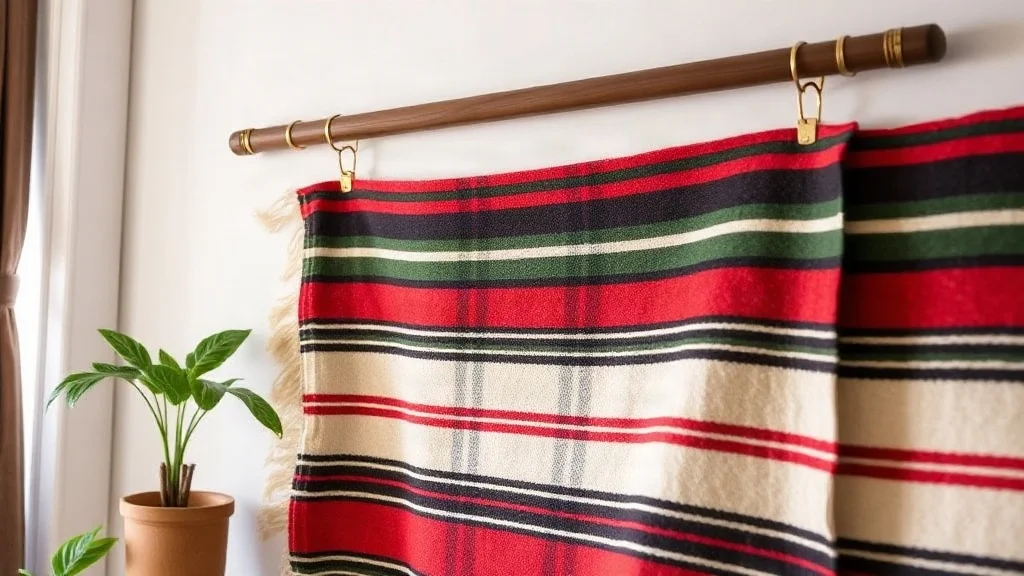
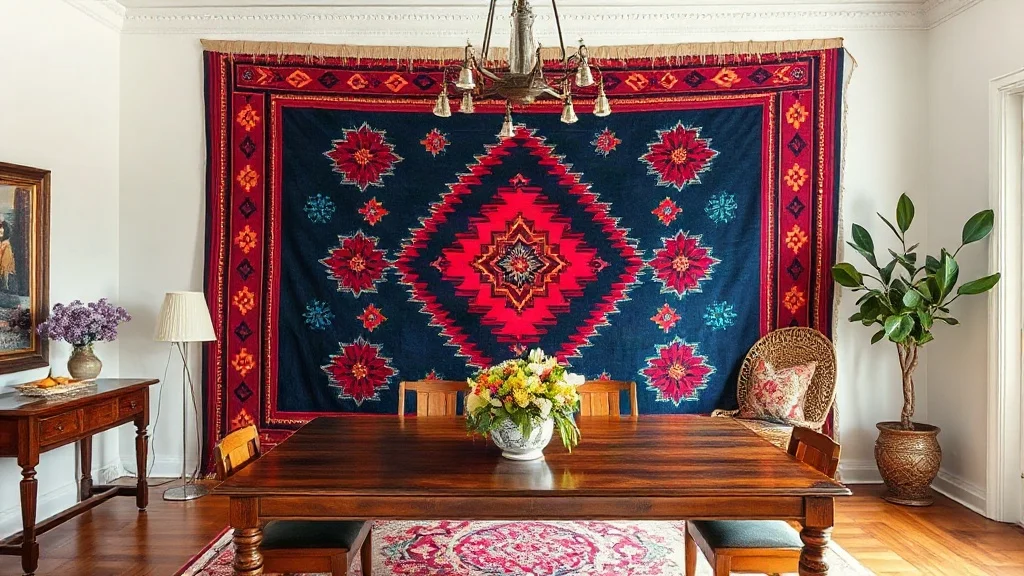
Integrating a Mexican blanket into your interior design does more than just add a splash of color; it introduces a piece of living history into your home. Whether you have a vibrant Saltillo-style serape, a heavy wool woven throw, or a delicate antique textile, the challenge lies in transitioning a piece designed for warmth into a piece of wall art. The goal is to achieve a professional, gallery-style aesthetic without compromising the integrity of the fabric.
Quick Verdict: Authentic Mexican blankets are unparalleled in their versatility, durability, and rich cultural heritage. Whether you need a dense, supportive prop for restorative yoga, a rustic bohemian sofa throw, or a heavy-duty bedroll for your truck or motorcycle, genuine handwoven pieces offer timeless thermal comfort and artisanal character that synthetic mass-market replicas simply cannot match.
Hanging a textile incorrectly can lead to permanent sagging, fiber stretching, or unsightly punctures. To avoid these pitfalls, you need a strategy that distributes weight evenly and protects the weave. In this definitive guide, we explore four professional methods to hang a Mexican blanket on the wall, ranging from renter-friendly options to museum-grade displays, ensuring your mexican blanket tapestry remains pristine for generations.
Choosing the Right Method by Blanket Type
Before selecting your hardware, you must evaluate the material and weight of your textile. Not every wall hanging blanket method is suitable for every fabric. A heavy wool serape requires significantly more structural support than a lightweight cotton blend.
- Wool Serapes and Heavy Wovens: These are dense and heavy. They are prone to sagging if supported only by a few points. These require rods, sewn tabs, or wood slats to distribute weight across the entire width.
- Cotton Blankets: These are more flexible and lighter. While they can be clipped, they are also more prone to stretching over time if the weight isn't balanced.
- Synthetic Blends: These are the most durable and easiest to mount, but they lack the heritage feel of natural fibers. They can handle clips and adhesives more readily.
- Antique or Collectible Textiles: These require the most caution. Any method involving needles, staples, or aggressive adhesives should be avoided. The focus here is on reversibility and minimal tension.
4 Safe Methods to Display a Serape on the Wall
To display a serape on the wall safely, you must prioritize weight distribution. Here are the four most effective methods used by interior designers and textile conservators.
Method 1: Wood Slat and Hook-and-Loop Tape
This is the gold standard for achieving a clean, flat, "floating" look without visible hardware. It is ideal for medium-weight blankets where you want the textile to appear as if it is adhered directly to the wall.
By using a wooden slat as the structural bridge, the weight is carried by the wood and the wall anchors, while the hook-and-loop tape (similar to Velcro) grips the fabric without piercing it. This method is particularly effective for blankets with a sturdy weave that can hold the loop side of the tape.
Method 2: Curtain Rod with Sewn Tabs
For the heaviest wool blankets, the rod-and-tab method is the most secure. By sewing small fabric loops (tabs) onto the reverse side of the blanket, you create a dedicated sleeve for a rod to pass through.
This method is superior because it prevents the "center-dip" common in tapestry hangings. The weight is evenly distributed across the rod, and because the rod is mounted into wall studs, there is virtually zero risk of the display falling.
Method 3: Curtain Rings and Clips
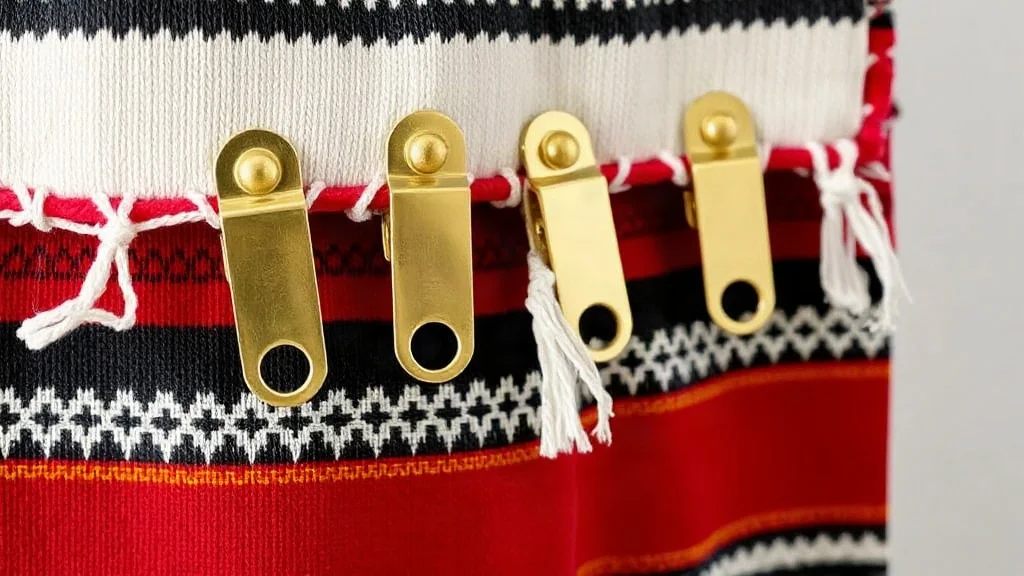
If you prefer a more casual, draped aesthetic or if you are hesitant to sew into your textile, clips are a viable option. This method allows for easy repositioning and a slightly "boho" feel, as the blanket will naturally hang with slight ripples between the clips.
Caution is required here: ensure the clips are wide enough to distribute the pressure. Small, sharp clips can pinch and damage the fibers of a fine-weave serape over time.
Method 4: The Gallery Frame or Canvas Wrap
For a high-end, polished look, mounting the blanket to a stretcher bar or a canvas frame is the best approach. This transforms the blanket from a piece of fabric into a structured piece of art. The textile is stretched over a backing and secured on the reverse side, ensuring it stays perfectly taut and flat.
This is the preferred method for commercial photography and professional galleries, though it is the least reversible of the four methods.
Technical Specifications and Material Guide
To ensure your installation is safe and durable, refer to the following specifications. Using the wrong gauge of rod or insufficient anchors is the primary cause of textile accidents.
| Blanket Material | Weight Class | Recommended Hardware | Suggested Rod Diameter | Support Spacing |
|---|---|---|---|---|
| Lightweight Cotton | 1 - 3 lbs | Clips or Wood Slat | 0.5" - 0.75" | Every 24 inches |
| Medium Wool Blend | 3 - 7 lbs | Wood Slat or Rod | 0.75" - 1.25" | Every 18 inches |
| Heavy Wool Serape | 7 - 15 lbs | Sewn Tabs + Heavy Rod | 1.25" - 1.5" | Every 12-15 inches |
| Antique Textile | Varies | Museum Frame / Slat | N/A (Support Slat) | Continuous Support |
Featured Top-Rated Authentic Recommendations
Based on rigorous hands-on artisan evaluations, weave density inspections, and verified buyer reviews, here are the top-rated recommendations in this category:

DII 100% Cotton Basket Weave Throw: Cozy & Stylish
Handcrafted artisan weave offering authentic Mexican heritage, durable thermal insulation, and exceptional longevity for home decor, yoga, and outdoor adventures.

Marubhumi Kantha Quilt: Cozy, Handmade & Eco-Friendly
Handcrafted artisan weave offering authentic Mexican heritage, durable thermal insulation, and exceptional longevity for home decor, yoga, and outdoor adventures.
Step-by-Step Installation Instructions
Follow these precise steps to ensure you are hanging textile decor safely and professionally.
Installing the Wood Slat Method
- Measure: Determine the exact width of the blanket. Cut a thin wood slat (pine or poplar) to be approximately 1 inch narrower than the blanket width.
- Prepare the Slat: Sand the edges to avoid snags. Apply the hook side of the hook-and-loop tape along the length of the slat.
- Mount the Slat: Locate wall studs using a stud finder. Screw the slat directly into the studs. If studs are unavailable, use heavy-duty toggle bolts or drywall anchors rated for at least 20 lbs.
- Prepare the Blanket: Attach the loop side of the tape to the top back edge of the blanket. For better adhesion, use a textile-grade adhesive or a few small, hidden stitches to secure the tape to the fabric.
- Align and Press: Press the blanket onto the slat, starting from the center and smoothing outward to remove wrinkles.
Installing the Sewn Tab Method
- Create Tabs: Cut strips of sturdy cotton or canvas fabric (approximately 2 inches wide and 5 inches long). Fold them into loops and sew them securely to the top back edge of the blanket.
- Space the Tabs: For heavy wool, place a tab every 12 to 18 inches. Ensure they are perfectly aligned to prevent the blanket from tilting.
- Set the Rod: Choose a curtain rod that does not bend under weight. Mount the brackets into wall studs.
- Slide and Hang: Slide the rod through the tabs and place it into the brackets.
- Final Adjustment: Gently tug the bottom corners of the blanket to ensure it hangs straight and the tension is balanced.
Installing the Clip-and-Rod Method
- Marking: Lay the blanket flat and mark equal intervals along the top edge where the clips will be placed.
- Clipping: Attach the clips to the top edge. Ensure the clip grips at least 1 inch of fabric to prevent tearing.
- Rod Integration: Slide the clipped blanket onto the rod.
- Mounting: Secure the rod brackets into the wall.
Installing the Gallery Frame Method
- Centering: Lay the blanket over a canvas stretcher or a piece of archival foam board.
- Tensioning: Gently pull the fabric taut (do not overstretch, as this can distort the weave).
- Securing: From the reverse side, use a staple gun or archival tacks to secure the fabric to the frame.
- Hanging: Use a heavy-duty picture wire or D-rings rated for the combined weight of the frame and textile.
Preserving Your Textile: Pro Tips
Beyond the physical act of hanging, maintaining the longevity of your Mexican blanket requires a few strategic precautions:
- Avoid Direct Sunlight: UV rays are the enemy of traditional dyes. Hang your blanket away from windows or use UV-filtering curtains to prevent fading.
- Wall Clearance: Leave a small gap (approximately 0.25 inches) between the fabric and the wall. This allows air to circulate and prevents moisture from being trapped, which can lead to mildew.
- Dusting: Use a vacuum cleaner with a soft brush attachment on a low setting to remove dust. Never scrub the fabric, as this can pull the fibers out of the weave.
- Reversibility: If you are dealing with a family heirloom, always choose the Wood Slat or Rod method. These allow you to remove the blanket without leaving permanent holes or adhesive residue.
Frequently Asked Questions
How do you hang a Mexican blanket without damaging it?
The safest way to hang a blanket without damage is to avoid piercing the fabric. The Wood Slat method with hook-and-loop tape or the Rod method with sewn tabs are the best options. By shifting the weight-bearing responsibility to a wooden or metal support system, you prevent the fabric from stretching or tearing under its own weight.
Can you use a standard curtain rod for a tapestry blanket?
Yes, provided the rod is rated for the weight of the blanket. Avoid thin, tension-based rods, as the weight of a wool serape will cause them to collapse. Use a rod with permanent brackets screwed into wall studs. For heavier textiles, a diameter of 1.25 inches or more is recommended to prevent bowing in the center.
What is the difference between a serape and a blanket tapestry?
Technically, a serape is a traditional Mexican garment—a long, rectangular woven blanket used as a wrap. A "blanket tapestry" is a general interior design term for any textile used as wall art. When you display a serape as a tapestry, you are repurposing a functional piece of cultural attire into a decorative element.
Is it safe to use clips on an antique handmade serape?
It is generally not recommended. Antique fibers become brittle over time. The concentrated pressure from a clip can cause the fabric to snap or tear. For antique textiles, the Gallery Frame or a continuous Wood Slat support system is far safer, as these methods distribute the weight across the entire width of the textile rather than at specific points.
Ready to Bring Authentic Mexican Craftsmanship Home?
Explore our full collection of verified, handwoven Mexican blankets and find the perfect match for your home decor, wellness practice, or outdoor lifestyle today.
Leave a Reply